How to Keep Knit Fabric From Curling

A sweater being knit with spools of yarn

Knit fabric does not just have a tendency to curl; it lives rolled up on the edges. As knit has significant stretch, but without stability, it’s all kinds of roly-poly. Now, you want the stretch so you can avoid buttons and zippers, but how do you sew that frustrating fabric? We have the answers right here to help you tame the wild beast known as knit fabric. Take a look.

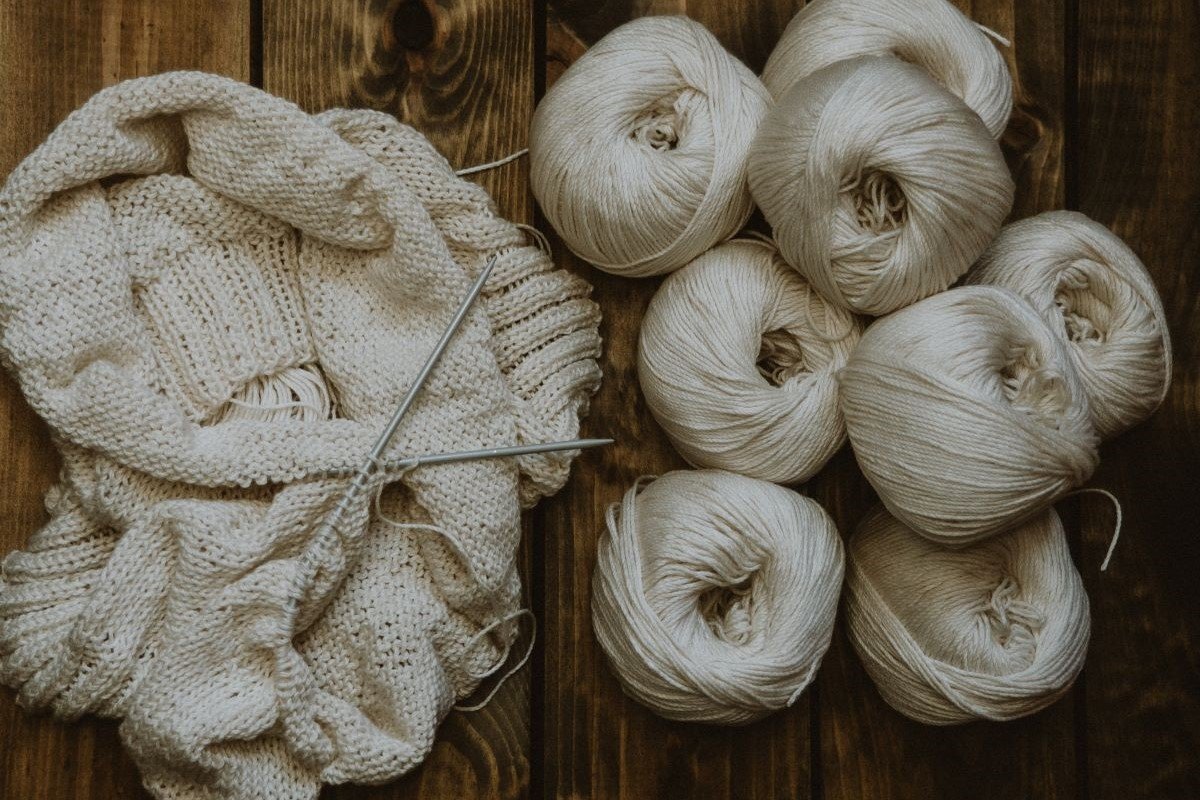
What is Knit Fabric?

Like when we knit with knitting needles and a ball of yarn, knitted fabrics are constructed from one or more long threads that intertwine and loop. It’s popular because the knitted loops allow plenty of elasticity, making it perfect for casual wear, think lounge pants or a slub shirt. Also, knits are made with a variety of fabrics including cotton, polyester, silk, viscose, wool, spandex, and more.

Different Types of Knitted Fabric

Now that you understand knit fabric let’s check out the different types to help pick the option best for you and to understand the differences.

  • Stable Knits will not roll as they include only 18 to 25 percent stretch.
  • Moderate Knits roll but not much, as they can stretch between 26 to 50 percent.
  • Stretch Knits have a remarkable range of flexibility, from 51 to 75 percent, which will include rolling at the edges.
  • Extra Stretch Knits offers tons of stretch and recovery with stretches up to 76 to 100 percent. In addition, these fabrics include a blend of latex or spandex, making them a great choice for swimsuits and leotards.
  • Ribbed Knits look like knit fabric, and they offer 100 percent stretch making them a great choice for sleeves.
  • Sweater Knits usually only stretches about 18 to 50 percent as it’s made of thicker yarn.

Before we go any further, you also need to understand stretch fabrics can flex their muscles in multiple ways. Some fabrics only stretch in one direction, while others can stretch in two or even four directions. The more they stretch, the more they curl. That’s just how fabric rolls.

Single-knit jersey is the most likely to curl at the fabric edges. When jersey knit stretches, the selvages typically roll toward the wrong side of the fabric, while the cut edges curl toward the “right” side. While this irritating rolling does serve to distinguish the front from the back of the cloth.

When edges roll, for instance, the usable cutting surface diminishes, and it’s more difficult to work with or cut. However, sewing with knits will be a breeze if you know how to prevent knit fabric from rolling and curling.

How to Prevent Curling

Let us discuss those notoriously difficult-to-work-with knits, those that make you want to run and hide and never use them again, or those that turn you into a sailor. A few simple tricks will get you on track. Trust us, stable fabrics may be easier to sew, but they do not have the give and the drape you want from those troublemaking knits.

Tissue Paper

While tissue paper looks great in a gift bag, it’s also going to be your new best friend when sewing knits. Knit fabrics roll because they lack spine, okay stability, and you just need to give them a little backbone. Tissue paper allows you to pin your fabric and keep it in place. Also, you can sew right through it and tear it or wash it off after. It’s so simple and gives you easy lines for a straighter finished project and less unsightly pinholes. Use this method for any unstable fabric, such as silks, chiffons, and other delicate fabrics.

Pattern Weights & Rotary Cutter

For low-curling fabrics, all you need are some pattern weights to pin the fabric together or for cutting.

Money hack: buy heavy washers from your local hardware store instead of buying ones made for sewing. They cost under a dollar each and work so very well.

This knit fabric is difficult to cut with scissors. Your finished edges will have the appearance of having been chewed by a dog. Use a rotary cutter if you want a precise cut with minimal fraying. Because jersey fabric does not tear, you will not even have to hem it to have that neat finish.

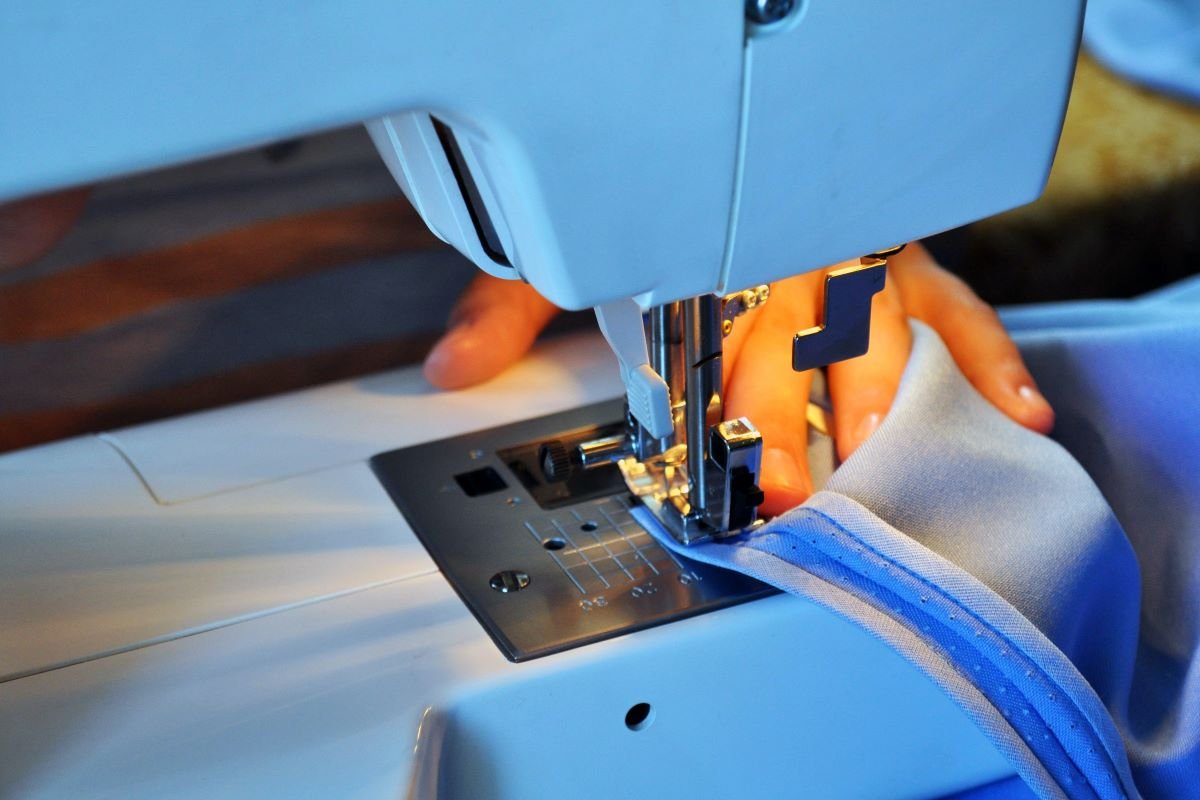
Hemming the Edges of Knit Fabric

The majority of knit textiles do not require edge finishing to avoid unraveling. However, the serging process makes the borders of the fabric heavier. The width of the serger stitch and the extra weight prevent the edges from curling and rolling in on themselves. This results in a flatter profile for the fabric.

Starch & Iron

A good pressing will remove creases from knit fabric, making it easier to cut if you use enough steam and pin immediately after ironing each area. Keep in mind you can easily burn knits or give them an unwanted sheen by ironing them at the same temperature as woven cotton. Also, the rolls cannot be totally removed by simply pressing the selvage and cut edges.

By applying a thin coat of starch to the edges of the fabric as you work to remove wrinkles can reduce rolling. You can also skip using the steam setting on your iron. The starch will dissipate with washing. Starch has been shown to be effective in removing curls from the majority of knit materials and is cheap and simple to apply.

Tiny Pins

Tiny pins hold the fabric down more firmly, allowing you the chance to keep the fabric from curling. However, this method takes a ton of patience and pins!

Interfacing

Interfacing or fabric tape can offer the stability you need to get your fabric sewn evenly. The non-elastic varieties work wonderfully as hold tape. The purpose of the stay tape is to prevent the taped area from extending. However, it is still stretchy and has the ability to stretch in the other direction, so you may move freely while wearing the top.

Stretch Stitch

If you are working with a stretchy cloth, you should use a stretch stitch. The zigzag stitch is the most popular choice for stretchy fabrics. A zigzag stitch allows the stitches to expand and contract with the fabric. While it will not prevent curling for sewing, it will prevent curling after to prevent bunching.

Final Thoughts

Curling fabric can ruin a fun plan of creativity and sewing; however, knit fabric offers stretch and drape, making it a necessary evil. While it takes a little extra work to tame a stretchy knit, it’s worth it and simple with a few methods. Also, these methods will save you money as you will end up making more accurate cuts with less damaged fabric. So move past the whining stage or annoying fabric and start sewing a t-shirt dress, correctly. Don’t worry, I whine too; just do not let it hold you back, as your wardrobe needs you.

What Can You Do with an Embroidery Machine?

embroidery with floral pattern done by embroidery machine

An embroidery machine gives you the freedom to transform any piece of fabric into something unique and beautiful. The options are practically limitless, ranging from monogrammed towels to patterned clothes. While embroidery machines have been around for a while, the technology in modern embroidery machines makes them more user-friendly and efficient than ever before.

Embroidery machine users are pushing the technology to its limits and coming up with innovative uses for a more stylized world. Whether you want to add embroidery to your family’s clothes or start a new business from home making patches, these machines can help you. Find out what all these powerful machines can do to improve your life and style.

What is an Embroidery Machine?

Like a sewing machine, an embroidery machine uses need and thread to stitch designs onto the material. Using a sewing machine or specialized embroidery machine allows you to create and implement designs with endless possibilities. Some sewing machines also offer embroidery, making them hybrid machines ready to pull double-duty. However, if you are a multitasking whiz, you might benefit from having a second sewing machine on hand while your embroidery machine does its thing.

Embroidering with a machine can seem daunting at first, but if you have all the supplies you need, you can relax and enjoy your new hobby. The essentials for beautiful and successful machine embroidery are needles, thread, stabilizer, bobbins, and the ideal pattern. Embroidery machines allow you a multitude of tasks, which we will go over below. So find some inspiration and put your new (or old) machine to use. Let the fun begin!

Embroidery Machine Uses

Monogram

Have you ever seen towels at fancy stores in the mall and then saw the price? Skip the lines and the cost by monogramming your towels and everything else at home. Embroidery machines, often known as monogramming machines, include a touch screen where you can design a monogram with two or three letters and then stitch it onto a variety of materials.

Applique

Appliqué embroidery is a type of needlework in which one cloth is layered atop another and then sewn decoratively. You can use this technique for clothing, hats, bags, and so much more. Artists frequently utilize a variety of cloth colors and textures, often combined to create a unique pattern or design.

Pieced Quilting

Done in a hoop set, embroidery machine quilting allows for a finished quilt with patterns too. An embroidery machine will be your new best friend as it can put the same design all over the quilt using a hoop. You can also use it to make binding, log-cabin quilt blocks, and free-motion quilting.

Create Patterns and Fabrics

You can use an embroidery machine to create the illusion of needlework, such as redwork, cutwork, or cross-stitch. Also, you can add shimmering effects, 3D, or even puffy foam to change your fabrics or spice up a dull pattern. However, you should not choose a fabric for your project simply because it is the only one you have available in the right size. Instead, you can make your own one-of-a-kind fabric design with the help of an embroidery machine and various materials, textured fabrics, and thread variants.

Repair Holes

Your favorite jean jacket has a hole, and you are undone. No need to fret; simply embroider a patch for a quick, easy, and cheap fix.

Make Patches

Patches can be sold at a high profit and are also a lot of fun to use for DIY projects around the house or on clothing. You can use them as gifts, for clubs, hats, backpacks, the list goes on!

Independent Lace

Embroidering directly onto a dissolvable stabilizer gives you the option for unique designs ready to add beauty to any outfit or even home decor. An embroidery machine can handle free-standing lace using tear-away stabilizer material. Add as much or as little detail as you like for a detailed or personalized style perfect for dresses and much more.

Crafting Embroidered Jewelry

Create embroidered jewelry to wear or sell with infinite options for personal expression. Earrings and pendants are works of art, especially with the right embroidery machine.

Benefits of an Embroidery Machine

Embroidery machines offer so many advantages, such as the ability for unrestrained creativity. Make your own fabric that fits your theme’s colors and style perfectly. Want a black and purple butterfly but cannot find one? Make one! Create original quilt blocks right in the hoop, or add new dimensions to a boring shirt.

You may add your own unique style to store-bought apparel, purses, and home decor by embellishing them. Furthermore, you can give new and personalized gifts for special occasions. Making your own fabric gives you a wide range of options for future use. Buying clothes is no longer constrained by the season, the fabrics in stock, or the luck of the online draw.

Making some additional cash could not be simpler when you take up embroidery as a hobby or side business. Starting with family and friends is a great place to hone your skills before taking them to local craft shows and businesses. If you have a knack for technology, you can even launch your own website and see great results, even selling your own embroidery designs digitally.

Items to Embroider

As you know by now, the options are endless, but to give you an idea, here are some of the most common items people embroider:

  • Wallets
  • Keychains
  • Stuffed animals
  • Towels
  • blankets
  • table runners
  • napkins
  • table cloths
  • T-shirts
  • Baseball caps
  • Shower Curtains
  • Curtains
  • Pillowcases
  • Pillow covers
  • Flags
  • Canvas
  • Sheets
  • Kitchen Towels
  • Rugs or Mats
  • Coasters
  • Blankets
  • Coolers
  • Aprons
  • Wood
  • Yoga Mats
  • Bags
  • Bookmarks
  • Backpacks
  • Notebook Cover
  • Purses
  • Hats
  • Ties
  • Baby Clothes
  • Bibs
  • Shirts
  • Pants
  • Dresses
  • Skirts
  • Socks
  • Skirts
  • Sweatshirts
  • Jackets
  • Robes

Where to Get Patterns

You may find thousands of embroidery patterns online and have access to them whenever you like, so you never have to be without an idea again. Online shops like Etsy provide patterns. If you have a Circuit, you can make a pattern using their multitude of options. Search in embroidery on Pinterest, and the options will have your board full in no time!

Final Thoughts

Now that you know about the impressive options an embroidery machine offers, it’s time to start looking for a machine if you do not already own one. Then, it’s time to dust it off, pull it out of the garage, and start letting your creativity flow. The possibilities are endless, from spicing up your everyday wardrobe to making one-of-a-kind creations as gifts for loved ones. Everything discussed above is doable with a dedicated embroidery machine.

In the beginning, it may be challenging to accomplish everything at once. But with regular exercise, any challenge can be overcome. In addition, you can add some spice to your home and wardrobe with patience, practice, and imagination. So start shopping for inspiring patterns and enjoy this fun machine ready to add style to every aspect of your life.

What are Pins Used for in Sewing?

different color sewing pins in a pin holder

If you are new to sewing, you still probably have a basic understanding of the purpose of pins. They are used to secure fabrics before cutting, stitching, or pressing temporarily. The pin is the seamstress’s most important tool because it ensures the proper placement of fabric.

However, you can find yourself with several different kinds of pins in your sewing box and may not know the purpose of each. Learn what you need to know about pins here to help your sewing projects go smoothly.

Necessity of Pins

Pins are an essential tool for any sewer. It is one of the main things you need to start sewing. You can use them to pin layers of fabric together until you get them stitched together.

Also, use pins to connect fabric for cutting, guaranteeing they will be the same size all around. You will find many uses as you learn to sew, from pinning pieces together you do not want to lose or adding embellishments in the right place.

Sewing pins do the majority of the work in a successful project. When at the machine sewing, the pins prevent the presser foot from sliding and cause mismatched seams and uneven edges.

Pins can even fix minor issues with a properly placed pin. Sewers of any type will need pins for any project, including quilting, making apparel, sewing bags, etc.

Pinning takes patience and precision, especially as projects get smaller, larger, or have more pieces to connect. With even a tiny deviation throughout the entire project, the result is piece may not line up.

Placing a pin in the spot where two or more seams will meet and then pinning them together will guarantee that the seams and points are perfectly aligned.

Types of Pins

When deciding the pin to use, keep in mind the material and method you will be using. Choosing the right pin for a job can make sewing a much easier job.

Keep several types of pins on hand to ensure you are always ready for anything. There is a wide range of head designs, sizes, colors, and materials.

The heads of pins can be made of various materials, including plastic, glass, or flat metal. As a result, their functions vary from one another. Knowing the benefits and drawbacks of each type of head can help you decide which one is best for your needs.

Straight Pins

Straight pins are the most common as they are sturdy and do not flex. Most are made with nickel-plated steel. You will have a variety of sizes to pick from to suit different projects and fabrics.

However, if you want to iron the fabric with the pins, you need to ensure the pin head works under heat.

A shorter pin will not work for thicker or heavy fabric. Also, the ultra-thin metal shaft will leave only microscopic holes in the fabric. Instead, choose from several types of straight pins, including glass and plastic heads.

white tip sewing pins on black table

Flat Head Pins

Dressmaker pins look like a nail and are the longest and good for ironing or hand sewing. However, they are harder to see, especially on darker fabrics. Flat pins are rust-proof, though, as they are made of stainless steel, which is great for fabric.

Sewing Clips

Sewing clips hold fabric in place like a binder or paper clip. They do not cause whose in the fabric either. However, they are bulky and can make it a little harder to work around the sewing machine but not enough to cause problems. You should definitely have some of these clips on hand.

Also, as you will want to use pins on the seam allowance to prevent wholes, you can use clips anywhere, but they may require folding.

Specialty Pins

For every type of sewing, you can find a specialty pin. Here are a few of the common options:

T-Shaped Pins are useful for pressing iron-required upholstery fabrics and other craft tasks. Although you probably will not need them very often for stitching, there are times when nothing else will do.

Fork pins allow you to straddle the seam allowance, allowing for precise seam matching. They are ideal for coordinating plaids and other fabrics.

Silk pins are extra fine, like the fabric, to prevent damage. If you are using silk, you need these pins. Traditional silk pins are made entirely of metal, with no plastic or glass components.

Pin Length & Width

Pins with greater strength and length are preferable for quilting because of the several layers of fabric and batting. The sewing pin shaft is the thin metal rod that extends from the pin’s head to the point of the pin.

You will need both long and short pins on hand for your sewing projects.

Longer pins are needed for quilting and other multi-layer sewing crafts so that the layers of fabric can be pinned without fear of the pins coming loose. Regular quilting pins range in length from 1 1/2 to 2 inches.

Tiny crafts, particularly those requiring the attachment of appliqués, sequins, or trims, benefit most from using short pins. In order to prevent damaging your product and leaving unattractive holes, you should use the smallest possible pin.

The thickness of your pins depends on the material you are working with and the complexity of your project.

Work with thinner silk pins, measuring 0.4 or 0.5mm in thickness, while dealing with less forgiving textiles like silk. Use thicker pins (0.7 or 0.8mm) when working with heavy textiles. The pins will bend quickly if they are too thin for the thick fabric.

Take a look at what occurs when I use a thin pin for my quilting project! Thick pins are necessary when working with heavier textiles.

Pin Holders

Use a pincushion to keep your needles and pins organized, or get one for each different kind of needle and pin you own. A magnetic pin holder makes it easier to take the pins off and can put them back, especially while stitching on the machine.

Final Thoughts

If you are new to sewing, you need to build a pin collection. Most sewing projects will require straight pins, and you can choose the cute ones in jewel tones, flowers, or with novelty heads.

However, you may need thinner, smaller pins for many projects too. Thankfully pins are cheap and quite sturdy; they will last for years and help your projects come out amazing. Happy Sewing!

How to Remove Rust From a Vintage Sewing Machine

an old sewing machine on a wooden table

You found a vintage sewing machine and fell in love immediately despite the rust covering the plates and corners. But, once you get home, you wonder how to clean up the signs of rust so you can fully appreciate the beauty of your new treasure. With a few tips and tricks, you can make your antique sewing machine look new again and ready to sew up vintage clothing!

Things You Need To Remove Rust From Your Sewing Machine

Cleaning an old sewing machine does not require a lot of fancy tools. You probably already have many of these tools at home. Others are easy to find in supermarkets, auto parts stores, and hardware stores. Here are some items you will want to keep handy to help remove rust from the sewing machine, along with some patience!

  • Dremel wire brush attachments
  • Power Drill with wire brush attachments
  • Wire Brush
  • Old Clothes
  • Q-Tips
  • Cotton Swabs
  • Old Toothbrush
  • Sewing Machine Oil
  • Screwdriver
  • Tarp and Newspaper
  • Tweezers
  • An apron for you
  • Safety Glasses
  • Gloves

Start with a spot test.

You need to do a spot test on a part of the sewing machine that no one will notice to ensure the cleaner you use does not cause problems to any finishes on the machine. Put the cleaning agent on the spot with a cotton swab. Singer sewing machines are hard to paint back to their original color, so be careful. If everything seems fine, clean the sewing machine to remove dirt and dust before moving on to the more thorough rust removal.

Cleaning External Parts

You should start cleaning the external parts of the sewing machine. This includes parts of the sewing machine that can be seen, like the faceplate, needle, and hand crank. Things that come off, like the faceplate, should be taken off and cleaned first. Also, you might want to take out parts, not on that list.

How badly these parts are rusted will determine how much work you have to do and what tools you need. Steel wool can be effective, cheap, and easy to use if the rust is not too deep. Otherwise, you can use a wire brush, Dremel, or power drill with steel cleaning attachments. Always remember your safety gear, such as gloves, glasses, and an apron.

Use penetrating oil like WD-40 for any parts stuck together to get them apart.

One important thing to know is that you should not expect miracles or for the rust to disappear in 15 or even 60 minutes. Instead, let the chemicals do their job, which may mean letting it soak overnight.

Start by using sandpaper to clean the faceplate, but do not press too hard to prevent scratches. Then, soak the faceplate in a degreasing agent to eliminate the rust. Once clean and dry, you can use a Dremel or a buffing wheel to make it shine again.

Use a microfiber cloth or a brush to spread the cleaning agent evenly over the other visible parts on the outside for a few minutes to work its magic. Be careful when you use the cleaner because it can take off the finish. Finally, use sandpaper to remove any extra rust on treadle machines, then wipe them down with the degreasing agent. Reassemble the machine and oiling parts as you put them back.

Do not forget that new parts for old sewing machines are both hard to find and very expensive. Because of this, you should be very careful. Once everything is back in place, use a Dremel with the right brush attachment to polish your sewing machine. Power drills can do the same thing as can a soft sand sponge.

Cleaning Internal Parts

Cleaning the inside of your vintage Singer sewing machine is more difficult because you have to take it apart. However, well-oiled and maintained machines will come apart easily as they resist rust at joints. Keep track of the pieces either by putting them in bowls or using painter’s tape to label them and trap them in one space.

Next, use sandpaper to get rid of any extra rust. Use a wire brush or Dremel, if you can, to clean off stubborn rust. If any parts are stuck together, soak them in the cleaning agent for a while to help them come apart. A good wire brush offers the best method to remove rust from any metal part, but it does take a while.

If you do not have the time or the energy, you can use a Dremel or power drill with a cleaning attachment or a power drill with a wire brush attachment.

Take time to do the job right and use the right size brush for the best results. Going too fast or applying too much pressure will not get the end results you want. Instead, try to enjoy the process and enjoy watching the rust flake away. Remember to get all the rust; if you leave any, it will soon spread again, and you will have to start over.

One thing you should not do is try to get rid of rust with vinegar. This seems to be the cleaning trend of the 21st century. It works well for removing stains from clothes and other fabrics, but not rust. This has been tried many times, but it never works.

If your machine is old enough to be vintage but still has some plastic parts, you might have a slightly different process. Most sewing machines today are made with plastic parts, plastic bodies, and other materials that are not metal. Therefore, you will not see much rust unless you take off the plastic body and look at the metal frame and any metal parts inside.

rust on the needle assembly of an old sewing machine

Future Care

Maintaining your machine from here on out will help to prevent rust in the future. Apply lubricant or oil to the gears, hand crank, and treadle of the sewing machine regularly; mark a day in your calendar once every three months. Also, service them regularly, checking for any issues or taking it to a professional if you experience any issues.

Final Thoughts

Removing rust from an old sewing machine does not require much knowledge, but it requires patience and effort. You just need to know what you are doing, be good with your hands, and have the right touch. Most times, getting rid of rust will take days, not minutes, so prepare for the long haul. Then, after the rust is gone, do good maintenance and lubrication to keep this from happening again.

What Causes Thread To Bunch Up When Sewing

sewing machine with bunched up thread

Thread bunching up while you are sewing can be the most frustrating problem. Not only do you now have a ton of seam ripping to do, but a problem to fix, and all you wanted to do was sew a dress. The good news is you are not alone; every sewer experiences bunching thread at some point. Start by not freaking out, take a deep breath, and read below to learn how to fix the problem.

Reasons Your Thread Bunches Up When Sewing

Before you panic, you need to check a few areas to determine where the problem starts. First, take out your thread and bobbin and set them up fresh. Next, grab some leftover fabric (always two pieces together) and make a quick line. If the problem continues, it’s time to go to the next step.

Check the side sporting the bunching. If it bunches on the top, you have a different problem than if it bunches underneath. On top means it’s a problem with the thread or machine, while on the bottom indicates an issue with the bobbin. Finally, pull out a seam ripper and sweep under the bobbin cover gently to pull up any loose strings possibly trapped, causing the problem. Now let’s look at the most common issues.

Here are some common reasons that thread bunches up while sewing:

Tension

Your machine’s tension may be a quick explanation for the bunched thread.
Tension maintains the even spacing of the top and bottom stitches, ensuring symmetry of the thread from the bobbin and from the spool. Without symmetry, the stitches pucker and create an uneven seam. Check your tension before moving on.

Thread

The wrong thread for the wrong fabric can lead to bunching as well. Weak thread can cause the problem too. Always invest in the high-quality thread to avoid such issues. In addition to being more prone to breaking, the fibers in low-quality thread tend to be looser. Loose fibers and thread fragments cause an increase in lint production in a sewing machine.

Next, improperly threading the machine can lead to bunching. The bird’s nest effect occurs from tension either too high or too low. Simply take out your bobbin and rethread the thread for the top, ensuring to guide the thread in the correct order as shown on your machine. Next, you should give stitching a go using a practice piece.

A spool of thread that is bunched up

Presser Foot

Your presser foot could lead to the problem too. A presser foot guides the fabric through the need and, if not properly secured, will bunch up the thread and the fabric. Although it may seem obvious, it is easy to forget to lower the presser foot when sewing thick fabrics or multiple layers. This is because the top thread needs the strain of the presser foot to prevent bunching of fabric and thread.

When you thread the bobbin with the presser foot down, you get tension. The thread ends up not sitting properly as a result. When the needle skips over the thread, it leads to bunching. Therefore, all threading should be done with the presser foot up so the thread may sit properly. More importantly, it will prevent the needle from having any trouble picking up the bobbin thread.

Bobbin

In some circumstances, especially on older machines or those with front-loading bobbin cases, you can adjust the bobbin tension using a little screw. When making changes to the bobbin tension, do it very gradually and verify the results on a scrap of fabric. Also, you must double-check that the bobbin, bobbin casing, and any other replaceable components located below the needle are firmly in place.

You need to check the bobbin casing for cracks or other signs of deterioration. However, do not try to physically alter the bobbin casing in any way outside of the screw adjustment. For example, a loose bobbin screw might cause the thread to bunch up.

Finally, incorrectly winding the bobbin leads to bunching. Always watch the bobbin and restart if the thread does not go on evenly and smoothly. It’s annoying to cut the thread, but it can save a ton of trouble in the long run. Check for lumps and knots. If these show up, then you need to make sure the thread runs to the bobbin properly.

Needle

If the thread pulls unevenly, which can happen if using a dull needle or a needle that is not suited to the fabric, then the thread will bunch. Replace your needle if the problem of bunching continues, and be mindful to change the needle for thicker fabrics or multiple layers.

sewing needle with thread in it

Improper Machine Maintenance

While sewing machines can cause trouble, they are fragile. Make sure you clean your machine often and do a thorough check-up regularly. Most vacuum cleaners’ hoses can be fitted with a special attachment designed to collect and store lint. Cleaning out the bobbin region on a regular basis is necessary to prevent the buildup of lint and loose threads.

Stitch Length

A too-fine thread length might damage certain fabrics. A cluster of stitches could form if the fabric became stuck or was tugged down. Because of the way the stitches will clump up, unpicking this will be a challenging process. Make the length adjustment and retry with the longer sample.

Thread Tails

Keep at least three inches of fabric behind the cloth at all times before beginning to sew. Doing so will prevent the threads from being sucked under the fabric and becoming tangled in the bobbin. This can lead to a situation where the fabric bunches up and gets stuck on both sides.

Using a Stabilizer

Some fabrics may benefit from using fusible interfacing or a washable or heat-away fabric stabilizer to help keep them flat and manageable during sewing. Be sure to read and follow all label instructions before using.

Unsuitable Fabric

Materials like leather and pleather are too thick for some sewing machines. If you try to push a machine beyond its designed capabilities, the thread may bunch up because the tension is too low. When you push your sewing machine too far, it can break down permanently. Consider changing to a heavy-duty machine to continue making your projects.

Final Thoughts

Sewing machines are fine instruments ready to sew fabric together with your help. However, when one cog does not connect properly, you may experience bunching thread. Check the eleven issues above and make the necessary changes so you can get back to your creative space and make beautiful things.

What You Need to Start Sewing

person sewing with sewing machine, scissors, and measuring tape

If you are filled with sewing inspiration and ready to learn a new (and useful!) skill, then you may start doing a little research, which can lead to an overwhelming amount of information. The sheer amount of things people say you need sounds costly and may put you off sewing. Have no fear.

From my sewing machine to yours, here are the most important things you need, and you can slowly build up your collection from there.

Here is a quick list of items needed to get you started sewing:

  • Ironing Board & Steam Iron
  • Sewing Machine
  • A Comfortable Chair
  • Thread
  • Bobbins
  • Spare Needles
  • Fabric
  • A Pattern or An Idea
  • Measuring Tape
  • Pins or Sewing Clips
  • Magnetic Pin Holder
  • Seam Gauge
  • Magnetic Seam Guide
  • Scissors
  • Seam Ripper
  • Fabric Markers or Chalk
  • Cutting Mat

For more information on these sewing tools, keep reading.

Ironing Board & Steam Iron

The most important part of sewing is actually ironing. You will need to iron down seams, iron the fabric before cutting, and much more. After you sew a line, go iron it, as this will make your project come out much better.

Sometimes you will need to iron the seams flat on one side or down the center; either way, you will need to iron everything you sew. Steam irons work must better with fabric.

Sewing Machine

Do not get trapped into thinking you need the fanciest machine out there; right now, pick an easy-to-use option with minimal options for an affordable price.

There are more sophisticated (and pricey) sewing machines out there, but you do not need one until you advance your sewing ability and learn the basics. The main choice you need to make is between a computerized or mechanical sewing machine.

Most sewing machines allow you to turn the presser foot down, so you sew slower. Do so before you start sewing to the lowest speed for more room to learn at the right pace. Find a video and follow the instructions to remove the presser foot bottom to reduce the speed inside with a turn or two of a screwdriver.

A Comfortable Chair

It is important to have a comfortable seat when you sew, preferably one with lumbar support. Since you will be seated for long periods of time, comfort is paramount.

When shopping for a sewing chair, it is important to prioritize comfort and health; thus, it is important to get one that supports your back and is ergonomic. That way, you may stitch in comfort.

Thread

Thread connects your fabric, making it paramount to sewing. It also goes on the bobbin for the bottom lines too. Stick to the basics when it comes to thread, picking medium spools in basic colors.

Pay attention to how the thread is wound onto the spool, as this will tell you which way to put it onto your machine’s two options for the best movement. Avoid the gigantic spools of thread as they are hard to work with and require extra tools.

A pile of spools of thread

Bobbins

Your thread’s bobbin is the component that winds itself up from the bottom. You will need one in your machine at all times, and winding a new one for each job is a nuisance, so a pack of bobbins is worth having so you can store them in all the colors of your thread.

Spare Needles

You should probably maintain a supply of spare needles for your sewing machine on hand, as it is inconvenient to always need to go out and buy new ones when they break. In most cases, they will work; however, it is best to double-check the specifications of your equipment. Keep some hand sewing needles available, too, for smaller fixes.

Fabric

Here’s the fun part! Fabric does a project, and all the other tools are useless without beautiful textiles. Start with easy-to-sew fabrics such as cotton as they do not have as much stretch making them easier to sew. Buy some cheap solid colors to start for practice. Work on sewing lines and simple items to start before moving up your game.

A Pattern or An Idea

Find a simple pattern with a few pieces to start your sewing journey. If you want to save money and are good at measuring, you can use a simple shirt you own and mock up a pattern on wrapping paper. I like to use wrapping paper with gridlines on the inside for easy marking and measuring. You can find PDF versions online too.

Do not assume that because a pattern is labeled “beginner,” that it does not require the use of closures such as buttons and zippers; instead, carefully read the instructions and inspect the line drawing to gauge the level of complexity involved in making the garment. Watch videos to help follow patterns, although all of them offer instructions inside.

Measuring Tape

Having a tape measure on hand is essential for any level of sewing, not just for beginners. Use this to measure not just straight lines but curves, thanks to the flexible shape.

assorted measuring tape laying on a table

Pins or Sewing Clips

Pins are another simple tool that you will want to keep your lines straight for sewing or to find where you need to sew. Sewing clips are a fantastic option, too, as they allow you to hold the cloth down at the edges without causing the fabric to pull slightly out of shape like pins.

Magnetic Pin Holder

Sure, you can grab a cute tomato pin cushion, but those cause more work. When you are taking the pins out while you are sewing, it’s much easier to take the pins and toss them on the pin holder instead of having to stab each one into the cushion. The magnets keep them in place, so they are ready for the next use.

Seam Gauge

A seam gauge is a little ruler with a slider that keeps track of where you want a line. It is a must-have item for every newbie seamstress, as it may be used to mark and measure widths.

It is more accurate than regular measuring tape since it is straight, durable, and usually has an adjustable notch. You will find yourself using this affordable item often when ironing to get your seams the right length for ironing.

Magnetic Seam Guide

A magnetic seam guide sits next to your presser foot at the width you desire to keep your lines straight. It will also help you figure out just how straight your fabric is too. Select the desired width of the seam allowance, and if necessary, move the guide to a new location.

The odds of making a mistake while using a magnetic seam guide are reduced because of the guide’s ability to grip the stitch plate and stay there.

Scissors

You will need a few pairs of scissors and some tape. Label your fabric scissors and only use those for cutting material. Keep another labeled pair for cutting everything else from paper to ribbon or other notions. A small sharp pair works best for cutting threads.

When you are ready, invest in a rotary cutter, and pinking sheers, but these are not necessary until you get to the next stage of sewing.

Seam Ripper

Sewing comes with many mistakes as you learn to sew a straight line and in the right spot. You can undo your stitches with a seam ripper and start over if you make a mistake. Think of it as a delete button but with a little more effort.

Fabric Markers or Chalk

You will need to mark your cloth, either to indicate where to cut or to draw your sewing lines. Using a conventional pen would be disastrous, so you should probably buy some chalk or washable marker pens instead. Markers and chalk glide better than a pencil.

Cutting Mat

Invest in a self-healing cutting mat to protect your table from knife scratches. In addition to serving as a shield against harm, the cutting mats also come with helpful measures, angles, and markings to ensure precise cloth cuts.

You can get a simple one that is great for learning to sew on, but you should probably go for one that lasts a while, so you are not constantly replacing your mat.

A Positive Learning Attitude

The most important part of sewing is the right attitude. Accept the fact that you will make mistakes and become very friendly with your seam ripper. Remember, Edison did not invent the lightbulb the first time; it took a thousand tries. So long as you learn from each mistake, then you are on a winning sewing path.

Your first few projects will probably look rippled around the edges or even have lines in the wrong places. But, wear it with pride anyways. You made it, and you are on a learning path taking you where you need to go. Enjoy the process as you will grow with your craft.

Video

For more detailed information on the tools that you will need to begin sewing, watch this video:

Final Thoughts

Sewing requires a variety of tools, but you do not need them all in the beginning. Start with the basics above, several of which come with your sewing machine. Save your money and start with the essentials so you can spend your money on fabric instead and not waste too much money while you are in the learning stages.

Dive in and be ready to make some learning mistakes and simply enjoy the steps as you progress without spending too much money in the process!

Go to Top