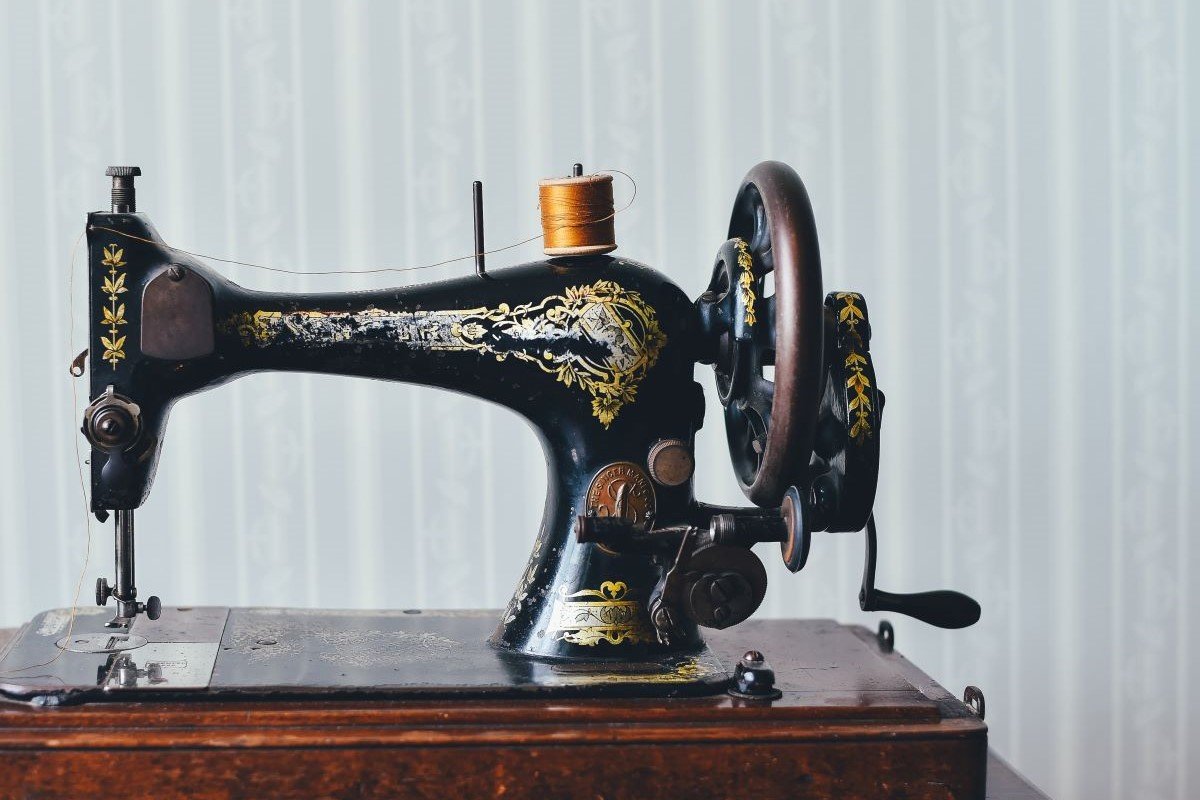
You found a vintage sewing machine and fell in love immediately despite the rust covering the plates and corners. But, once you get home, you wonder how to clean up the signs of rust so you can fully appreciate the beauty of your new treasure. With a few tips and tricks, you can make your antique sewing machine look new again and ready to sew up vintage clothing!
Things You Need To Remove Rust From Your Sewing Machine
Cleaning an old sewing machine does not require a lot of fancy tools. You probably already have many of these tools at home. Others are easy to find in supermarkets, auto parts stores, and hardware stores. Here are some items you will want to keep handy to help remove rust from the sewing machine, along with some patience!
- Dremel wire brush attachments
- Power Drill with wire brush attachments
- Wire Brush
- Old Clothes
- Q-Tips
- Cotton Swabs
- Old Toothbrush
- Sewing Machine Oil
- Screwdriver
- Tarp and Newspaper
- Tweezers
- An apron for you
- Safety Glasses
- Gloves
Start with a spot test.
You need to do a spot test on a part of the sewing machine that no one will notice to ensure the cleaner you use does not cause problems to any finishes on the machine. Put the cleaning agent on the spot with a cotton swab. Singer sewing machines are hard to paint back to their original color, so be careful. If everything seems fine, clean the sewing machine to remove dirt and dust before moving on to the more thorough rust removal.
Cleaning External Parts
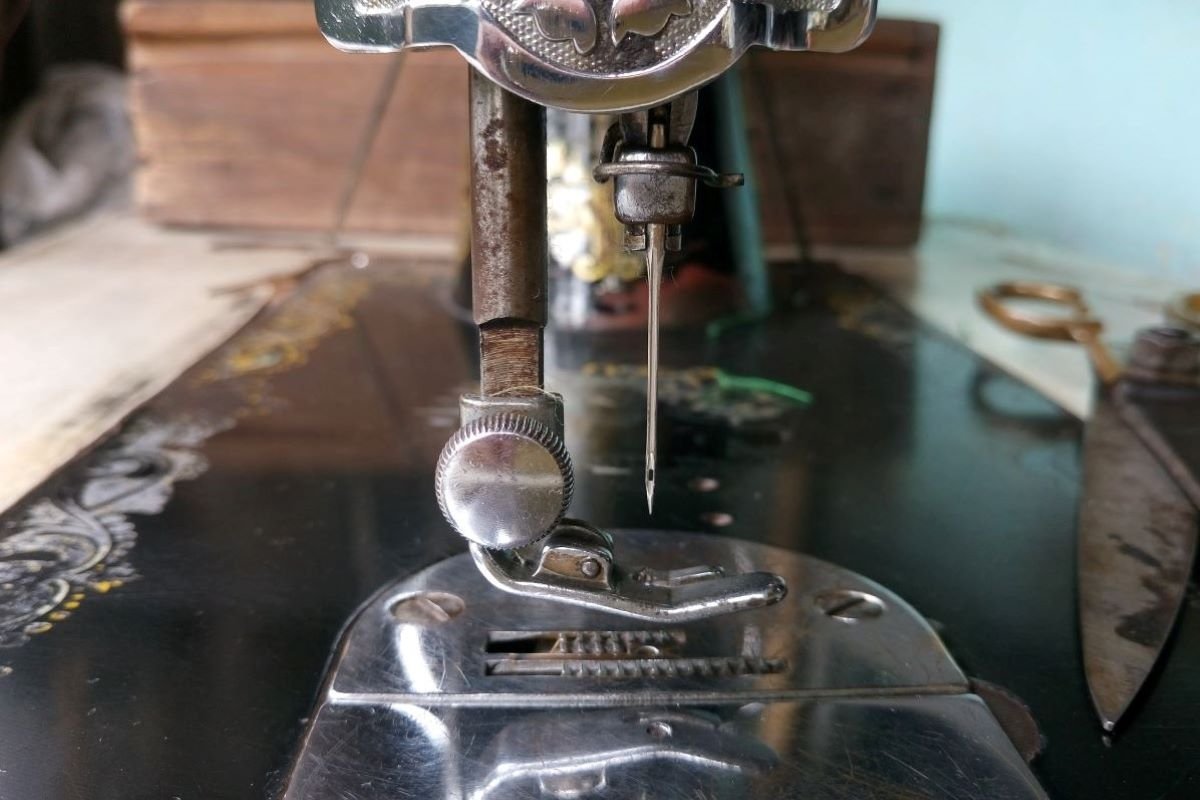
You should start cleaning the external parts of the sewing machine. This includes parts of the sewing machine that can be seen, like the faceplate, needle, and hand crank. Things that come off, like the faceplate, should be taken off and cleaned first. Also, you might want to take out parts, not on that list.
How badly these parts are rusted will determine how much work you have to do and what tools you need. Steel wool can be effective, cheap, and easy to use if the rust is not too deep. Otherwise, you can use a wire brush, Dremel, or power drill with steel cleaning attachments. Always remember your safety gear, such as gloves, glasses, and an apron.
Use penetrating oil like WD-40 for any parts stuck together to get them apart.
One important thing to know is that you should not expect miracles or for the rust to disappear in 15 or even 60 minutes. Instead, let the chemicals do their job, which may mean letting it soak overnight.
Start by using sandpaper to clean the faceplate, but do not press too hard to prevent scratches. Then, soak the faceplate in a degreasing agent to eliminate the rust. Once clean and dry, you can use a Dremel or a buffing wheel to make it shine again.
Use a microfiber cloth or a brush to spread the cleaning agent evenly over the other visible parts on the outside for a few minutes to work its magic. Be careful when you use the cleaner because it can take off the finish. Finally, use sandpaper to remove any extra rust on treadle machines, then wipe them down with the degreasing agent. Reassemble the machine and oiling parts as you put them back.
Do not forget that new parts for old sewing machines are both hard to find and very expensive. Because of this, you should be very careful. Once everything is back in place, use a Dremel with the right brush attachment to polish your sewing machine. Power drills can do the same thing as can a soft sand sponge.
Cleaning Internal Parts
Cleaning the inside of your vintage Singer sewing machine is more difficult because you have to take it apart. However, well-oiled and maintained machines will come apart easily as they resist rust at joints. Keep track of the pieces either by putting them in bowls or using painter’s tape to label them and trap them in one space.
Next, use sandpaper to get rid of any extra rust. Use a wire brush or Dremel, if you can, to clean off stubborn rust. If any parts are stuck together, soak them in the cleaning agent for a while to help them come apart. A good wire brush offers the best method to remove rust from any metal part, but it does take a while.
If you do not have the time or the energy, you can use a Dremel or power drill with a cleaning attachment or a power drill with a wire brush attachment.
Take time to do the job right and use the right size brush for the best results. Going too fast or applying too much pressure will not get the end results you want. Instead, try to enjoy the process and enjoy watching the rust flake away. Remember to get all the rust; if you leave any, it will soon spread again, and you will have to start over.
One thing you should not do is try to get rid of rust with vinegar. This seems to be the cleaning trend of the 21st century. It works well for removing stains from clothes and other fabrics, but not rust. This has been tried many times, but it never works.
If your machine is old enough to be vintage but still has some plastic parts, you might have a slightly different process. Most sewing machines today are made with plastic parts, plastic bodies, and other materials that are not metal. Therefore, you will not see much rust unless you take off the plastic body and look at the metal frame and any metal parts inside.
Future Care
Maintaining your machine from here on out will help to prevent rust in the future. Apply lubricant or oil to the gears, hand crank, and treadle of the sewing machine regularly; mark a day in your calendar once every three months. Also, service them regularly, checking for any issues or taking it to a professional if you experience any issues.
Final Thoughts
Removing rust from an old sewing machine does not require much knowledge, but it requires patience and effort. You just need to know what you are doing, be good with your hands, and have the right touch. Most times, getting rid of rust will take days, not minutes, so prepare for the long haul. Then, after the rust is gone, do good maintenance and lubrication to keep this from happening again.